Understand the basics of motor starter repair and troubleshooting with help of this post.
Learn general problems, approach on how to solve a particular motor starter problem and tips on how to repair the motor starter effectively.
- Comprehensive Overview to Motor Starters
- Equipment Requirements
- Step-by-Step Motor Starter Troubleshooting
- Step-1: Visual Inspection
- Step-2: Check the Power Supply
- Step-3: Test the Control Circuit
- Step-4: Inspect the Overload Relay
- Step-5: Checkup the Contactor Coil & the Contacts
- Step-6: Blown Fuses
- Tips for Repairing Motor Starters
Motor starters are widely incorporated in several industries and businesses to manage the rotation of electric motors.
However, like any tool, wheels can have problems that must be solved and potential malfunctions.
Here, readers will be introduced to the fundamentals of motor starter- noting a few key areas that can help you avoid any hitches in the equipment’s performance.
Comprehensive Overview to Motor Starters
In order to discuss troubleshooting and repair, however, it’s important to first know what a motor starter is and what it does.
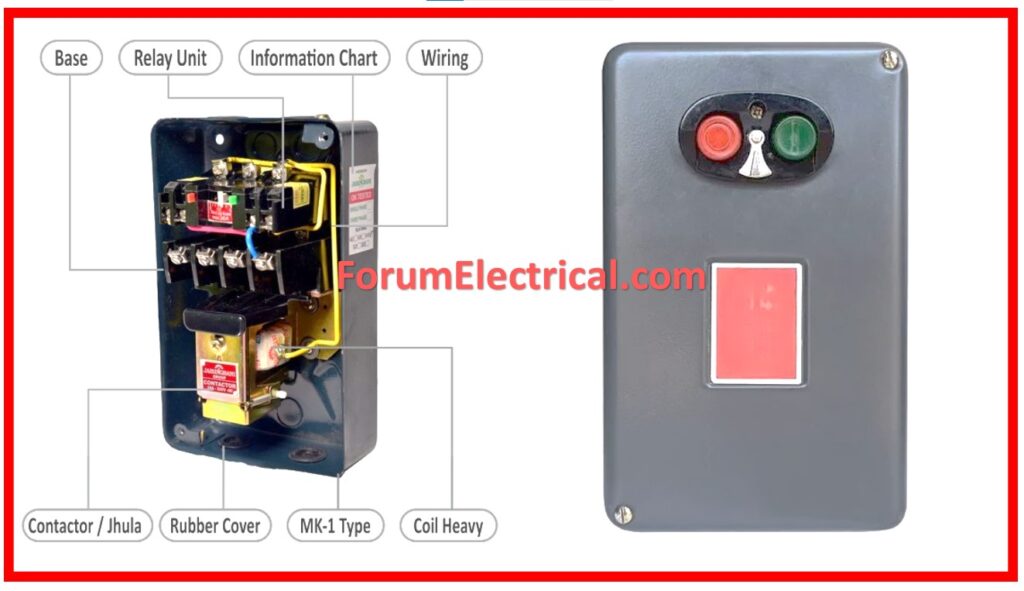
A motor starter can be defined as a device that is used to give signals for starting or for stopping a motor that is in use.

It has such elements as
- Contactors,
- Overload relays,
- Fuses or
- Circuit breakers.
These components interact in the process of safely powering on, operating, and powering off the motor; as well as preventing electrical problems from harming the motor.
Also, this post looks at common problems with motor starters.
Some of the fundamental problems that are associated with motor starters include; the first step towards solving the problem is to determine what the issue is.
Common problems include:
Contact Wear
Since the starting of the process it was fine but over some time, the contacts within the starter can juice up due to frequent use hence leading to weak electric contacts.
Overload Trips
While overload relays are contacts similar to occurrence relays, they will open if the motor is drawing too much current; this could be a mechanical, motor problem or electrical problem. It can also trip if the relay gets defective especially in the overload function.
Control Circuit Faults
Problems in the control circuit like damaged wires or faulty control devices will make the starter malfunction.
Coil Failure
There is a possibility that a coil in the contractor may fail and hence the starter cannot energize and the contacts cannot close.
Single Phasing
If one or the other Phase of the system is absent then it is called single phasing.
Single phasing is caused by the improper function of the electrical circuit or system which include the blowout of one of the fuses, contactor contacts problems and form of cable disconnection.
Equipment Requirements
- Socket Set
- Pair of spanners
- Screwdrivers
- Soldering Iron or torches
- Pliers and side-cutters.
- Hammer
- Oil
- Rags
Step-by-Step Motor Starter Troubleshooting
Step-1: Visual Inspection
Initially, one should perform the visual examination of the motor starter and its parts and components.
Analyze whether there have been situations that can clearly indicate that several contacts get burnt, the wires are melted or the parts are broken.
Make sure all terminal connections are correctly tightened.

Step-2: Check the Power Supply
Check that the correct voltage is getting to the starter.
This is done by connecting a multimeter across the incoming supply and comparing it to the motor starter requirements.
If the voltage is low then that would imply a problem with the power supply or wiring and if it is high then there might be a problem with either the power supply or wiring also.
Step-3: Test the Control Circuit
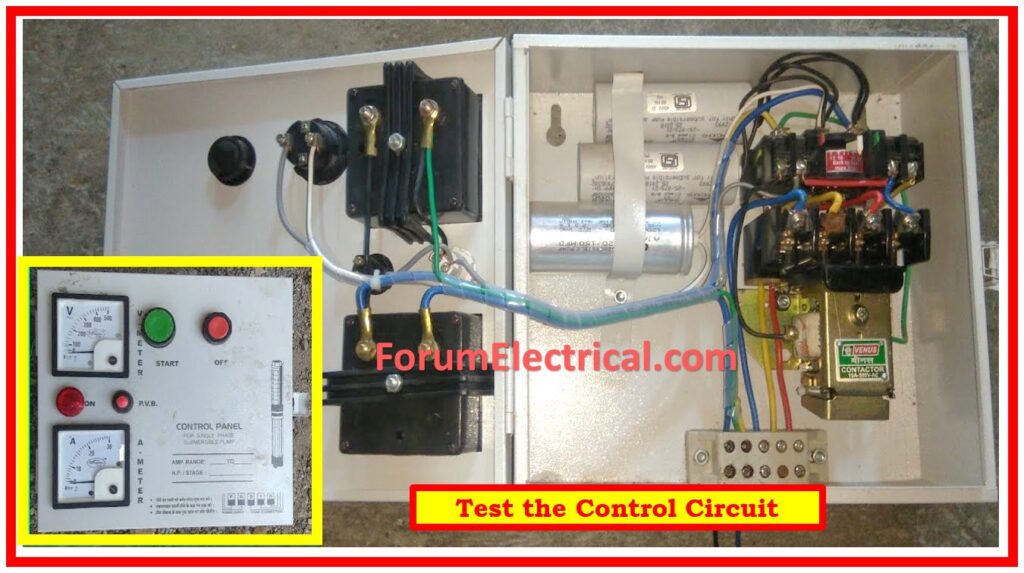
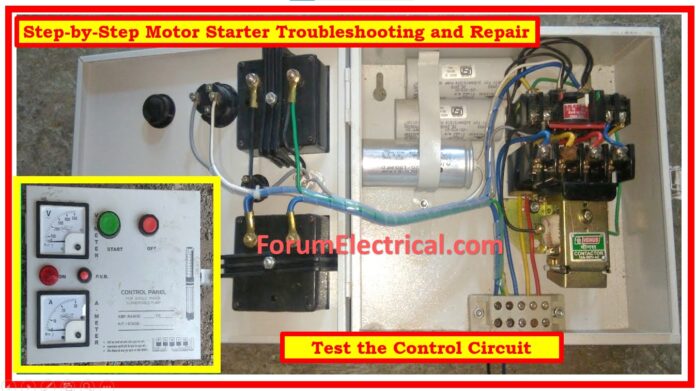
Ensure the control circuit is properly operating and is free of breaks.
Check for any faults with
- Push buttons,
- Limit switches,
- Relays and
- Other control equipments
that may be incorporated in the system.
Make sure all the wiring of the control circuits is present and well connected.

Step-4: Inspect the Overload Relay
Check if there is a tripping of the overload relay.
Pull the relay and observe the amount of current the motor is taking.
In the case of another tripping of the relay, gain more insight in order to assess if the motor is getting high current or if the relay is bad.
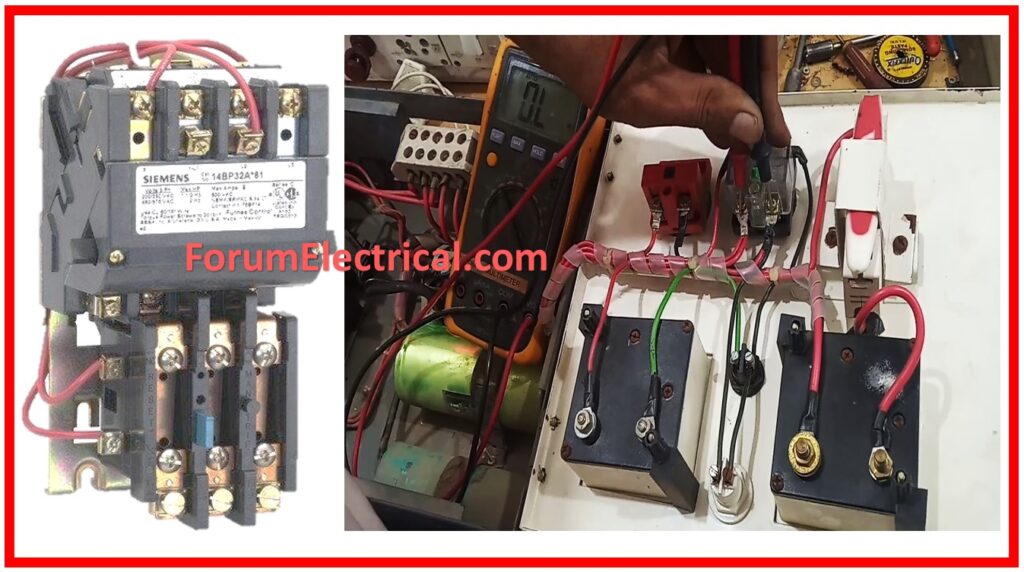
In its healthy state, the relay contacts remain non-operational contacts, or NC.
Measure continuity between two NC terminals on the overload with an ohmmeter.
If on using the ohmmeter and ‘OPEN’ is displayed, it will be required for the overload to be changed.

Step-5: Checkup the Contactor Coil & the Contacts
Using a multimeter, measure the resistance of the contactor coil and ensure that the multimeter’s probes do not touch each other.
If the coil is open it is most likely that the coil needs to be replaced with the new one.
Check the contacts for signs of a build-up of pitting and if so then the contacts will have to be cleaned or changed.
Step-6: Blown Fuses
Remind the person to consult the car’s manual and use a multimeter to check continuity on the fuses.
If no continuity is obtained from a fused, then replace it.
Check for corrosion on the fuse holders; if they are corroded, then you must use an electrical contact cleaner for cleaning.
Tips for Repairing Motor Starters
Replace Worn Contacts: If the contacts are used or there is any kind of damage on them, ensure that you get a new set of contacts. This will warrant a proper flow of electrical current and efficient working of the device.
Repair (or) Replace Faulty Components: Check for and replace bad parts like coils, relays, or control devices that are used in the circuitries. Always replace the components with ones with similar characteristics as the ones they are replacing.
Ensure Proper Wiring: Find and replace defective control and power wire.
Test the Motor: If you think the motor starter should be working correctly but did not start the motor, test the motor. Developers also tend to look for problems that include winding failures, mechanical problems, or connection problems.


