Purpose
The purpose of this calibration procedure is to ensure that standard calibration practices / methods are followed in order to obtain reproducible and comparable results.
This post will be revised as needed to meet specific project requirements and become a project-specific work instruction.
Scope
This calibration procedure applies to the Calibration Laboratory’s calibration of the Phase Sequence Indicator at laboratory temperature in accordance with applicable international standards/methods.
Safety Precautions
- Before calibrating the phase sequence indicator, disconnect it from any power source.
- Before working with electrical equipment, follow all safety requirements and use proper personal protection equipment (PPE).
Reference
Documents for Reference: Power Quality Analyzer
Tools Required
- Phase Sequence Testers: Fluke 9062
- Calibration Kit
- Multimeter
Definitions
The Phase Sequence Indicator determines the phase sequence of three-phase voltages.
There are two types of Phase Sequence Indicators:
- Revolving disk type,
- Digital type that displays the rotational direction.
UUT = Unit Under Test.
Responsibilities
Experienced Trainers will teach all operators/technicians doing calibrations.
Calibration Requirements
- Calibration should take place at the frequency that the phase sequence indicator is going to be utilized.
- Calibration should take place at the voltage where the phase sequence indicator is going to be utilized.
- Calibration should be done at the same temperature that the phase sequence indicator will be utilized.
Calibration Conditions
- Lab Temperature: 21 ± 2 °C.
- Relative Humidity: (50 ± 15%) RH.
General Guidelines
- Calibration should be done in a controlled environment only.
- Both the UUT & Reference Standard equipment must be placed in the controlled environmental conditions described above for at least 30 minutes to warm up.
Prior to calibration, visually inspect the UUT. Visual inspection has been done for:
- Check the physical condition of the UUT.
- Ensure proper digital display (if applicable).
- Ensure proper rotation of the UUT’s rotating disk (if applicable).
- Ensure proper wire connections and terminations.
- Record any unsatisfactory results on the datasheet.
Preparation
Make that the phase sequence indicator is appropriately connected to the power supply and that any relevant test leads are securely attached.
Initial Inspection
- Check the phase sequence indicator for physical damage, loose connections, (or) wear and tear.
- Check the battery (if necessary) & replace it as needed.
Connection & Setup
- Attach the phase sequence indicator to a calibrated three-phase alternating current power source.
- Connect the power source to a predefined phase sequence (such as R-Y-B or R-B-Y).
- Verify the phase sequence as provided by the phase sequence indicator.
6 Steps Calibration Procedure
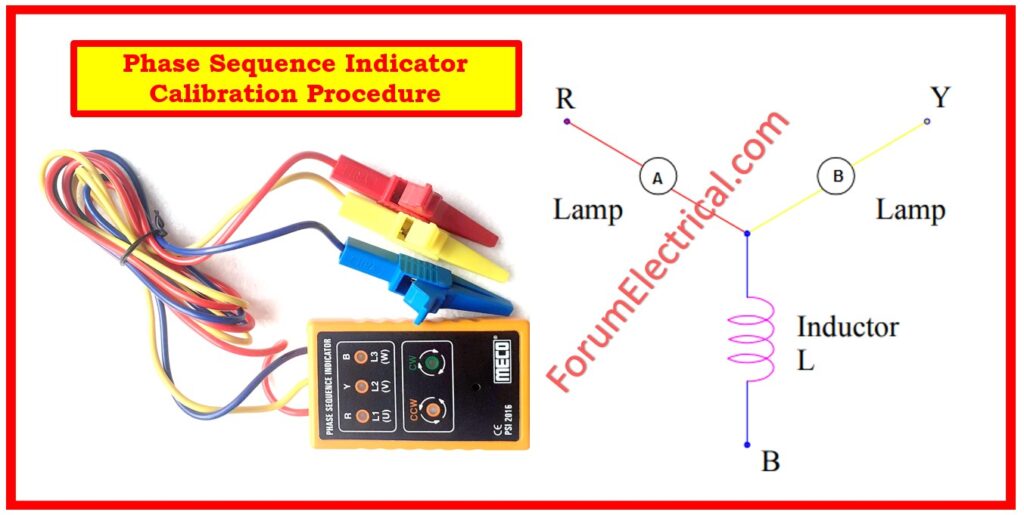
Step-1: Connect the R, Y, and B terminals of the phase sequence tester to the R, Y, and B terminals of the three phase supply, accordingly.
Step-2: Ensure the Phase sequence tester’s disk rotates properly. If it is rotating clockwise, it is fine.
Step-3: Record the findings in the datasheet.
Step-4: Remove the sequence tester connections and connect in separate phases. Note the rotation direction, if anti-clockwise. Then it is OK.
Step-5: Record findings in the datasheet.
Step-6: Create a calibration certificate using Met/Cal software (or) an Excel document, then print it in the standard format.
Verification
- Once the calibration is complete, compare the phase sequence indicator’s accuracy to the known phase sequence from the power source.
- Perform the verification process with different phase sequences.
Documentation
Record measurements/readings using the relevant checklist/formats provided in the attachment.
The test report should include the following information at a minimum about customer name, Instrument manufacturer, make, range, serial number, and accuracy.
Completion
Carefully unplug the phase sequence indicator from reference source.
Check the indicator to ensure it is in good condition & ready for usage.
Regular Calibration
Create a regular calibration routine to ensure accuracy over time.
Maintain a calibration diary for future reference & compliance purposes.


